Lens hood modification for access to the Polarizer
One of the most popular filters is still the circular polarizer. Even in the day of digital it is important for improving your landscape photograph while in the field. Photoshop is a great tool but it is sometimes better to capture the image without having to always fix it later.
As most Photographers know the Polarization filters are specially adapted with a thin laminated film on the glass. When turned on the front of the filter at an angle to the sun or other light source it will reduce glare from reflected surfaces and increase contrast and remove glare in the scene. This is especially helpful for landscape photographers to make those big puffy clouds jump out of the sky. The most popular type of polarizer is circular it screws on the front of the lens and has a knurled ring on the front to spin and move the front element. You can see the results while viewing through your viewfinder.
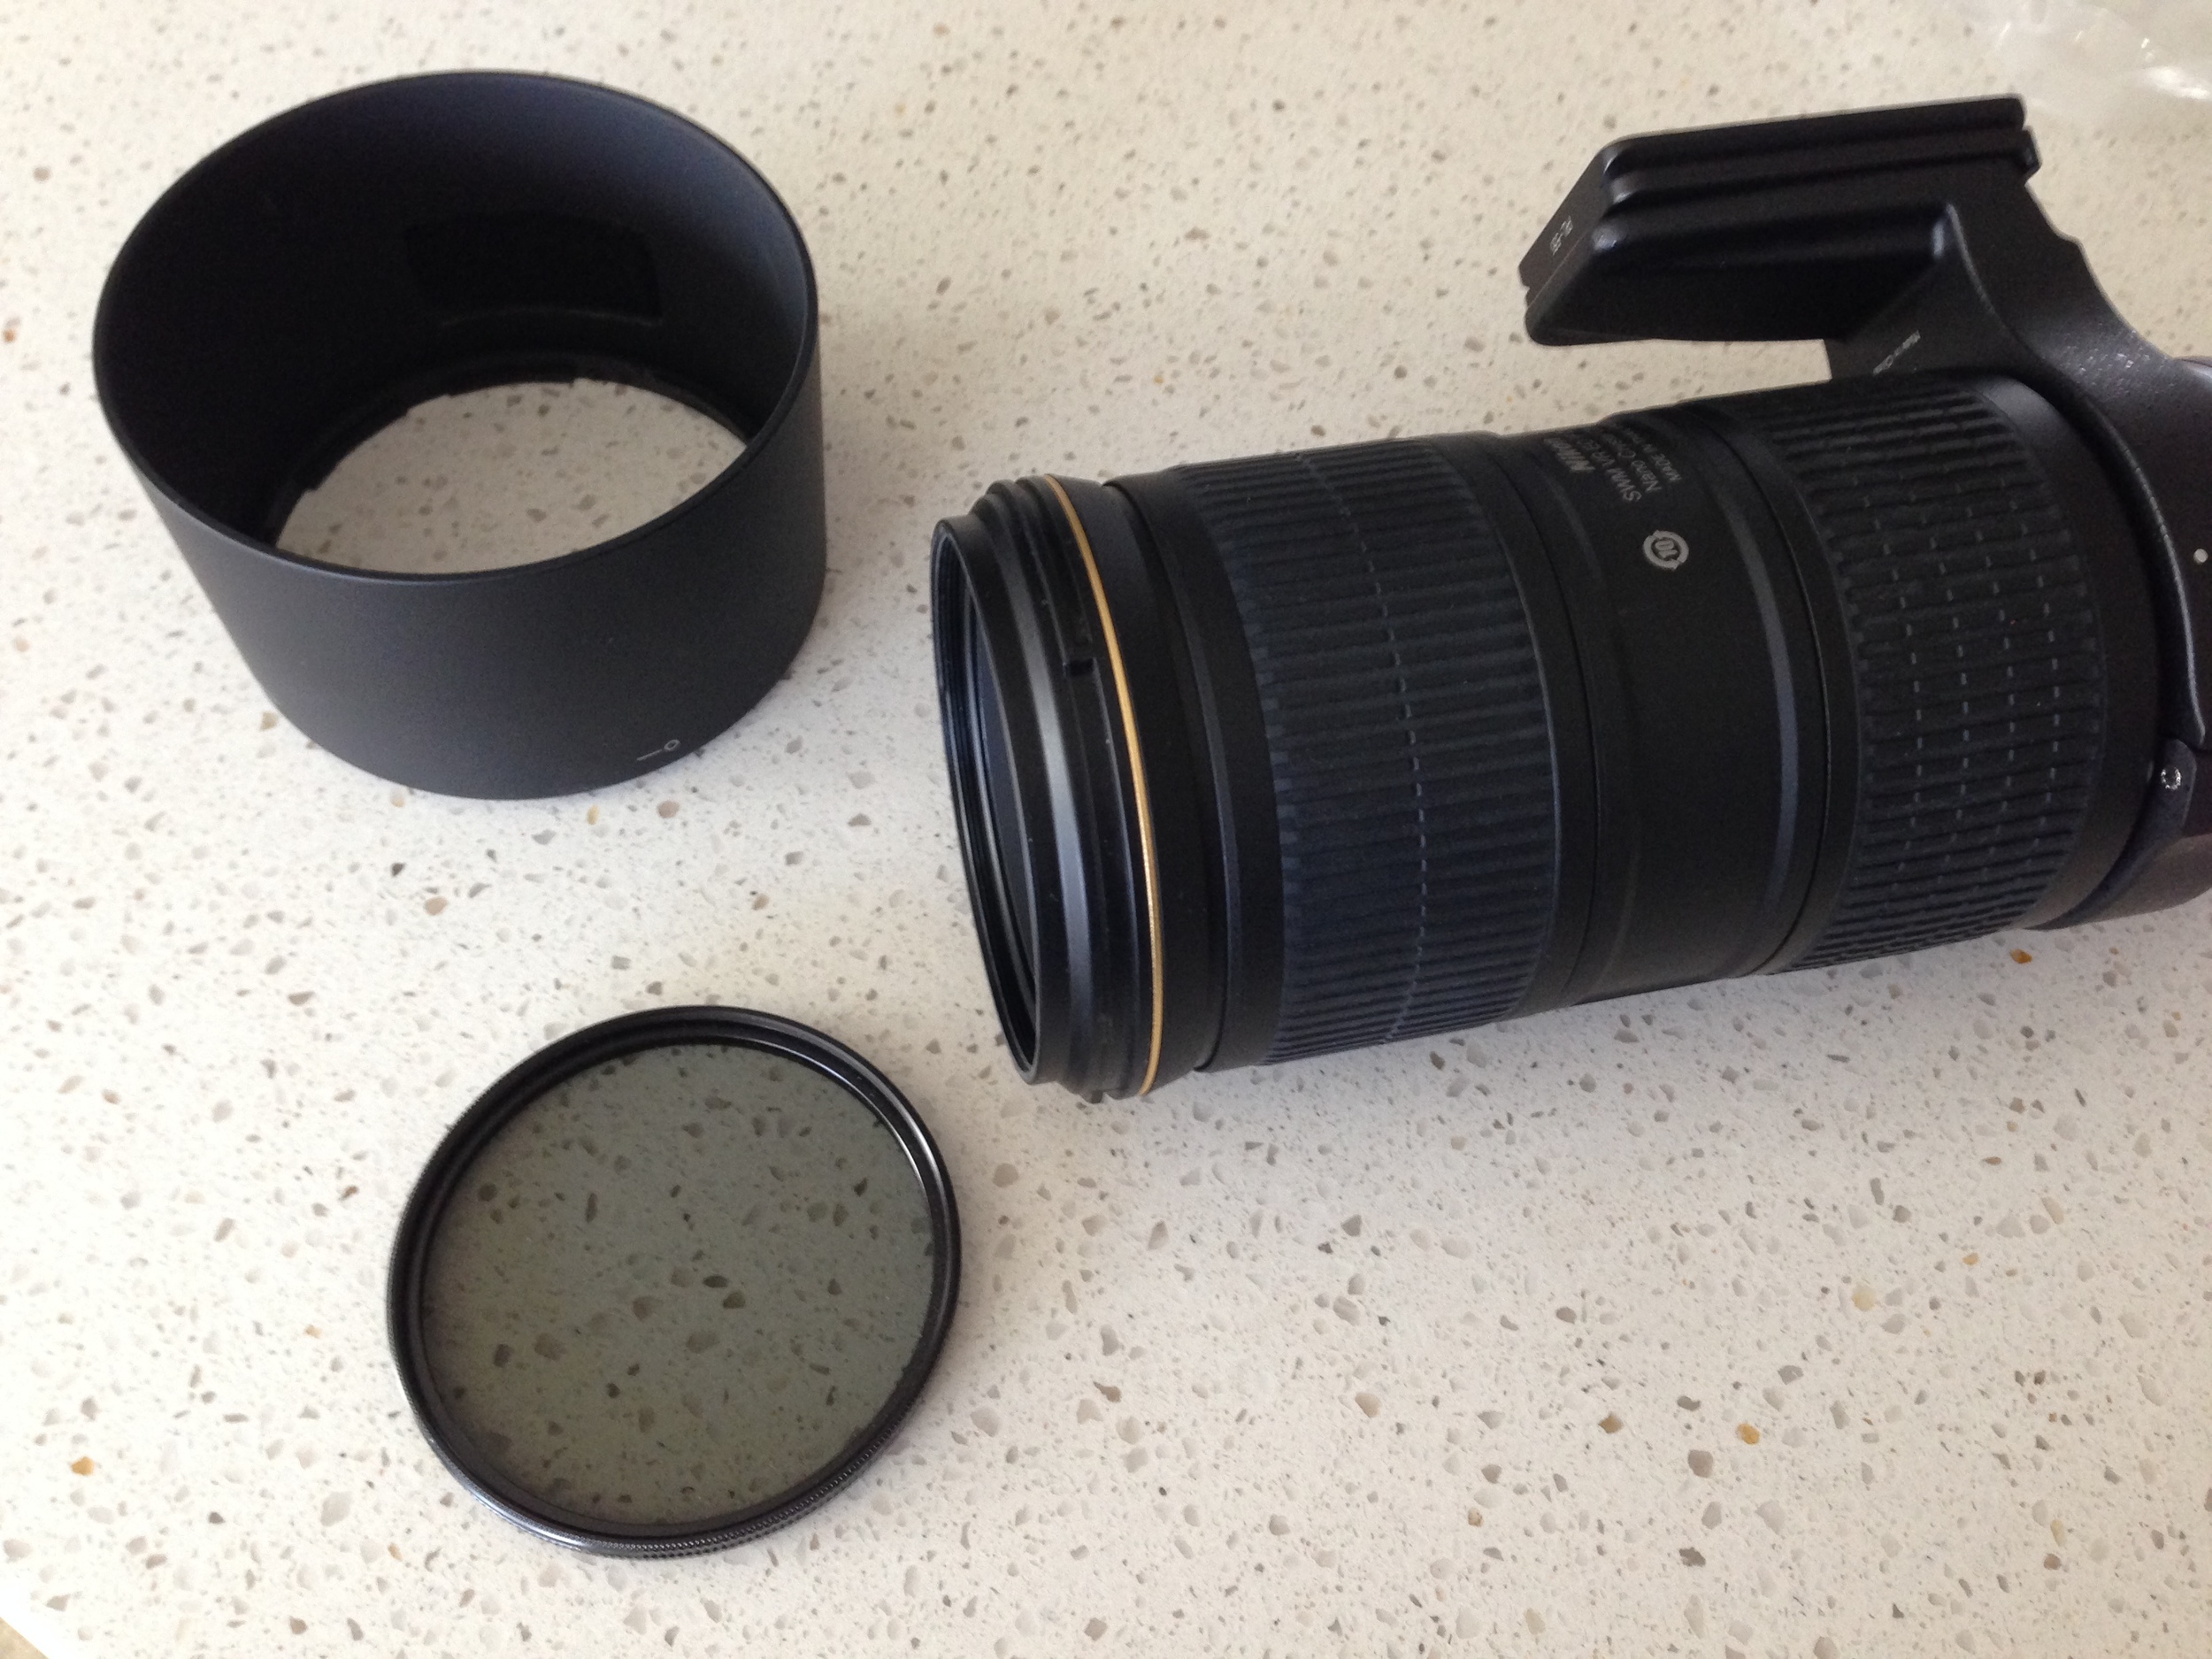
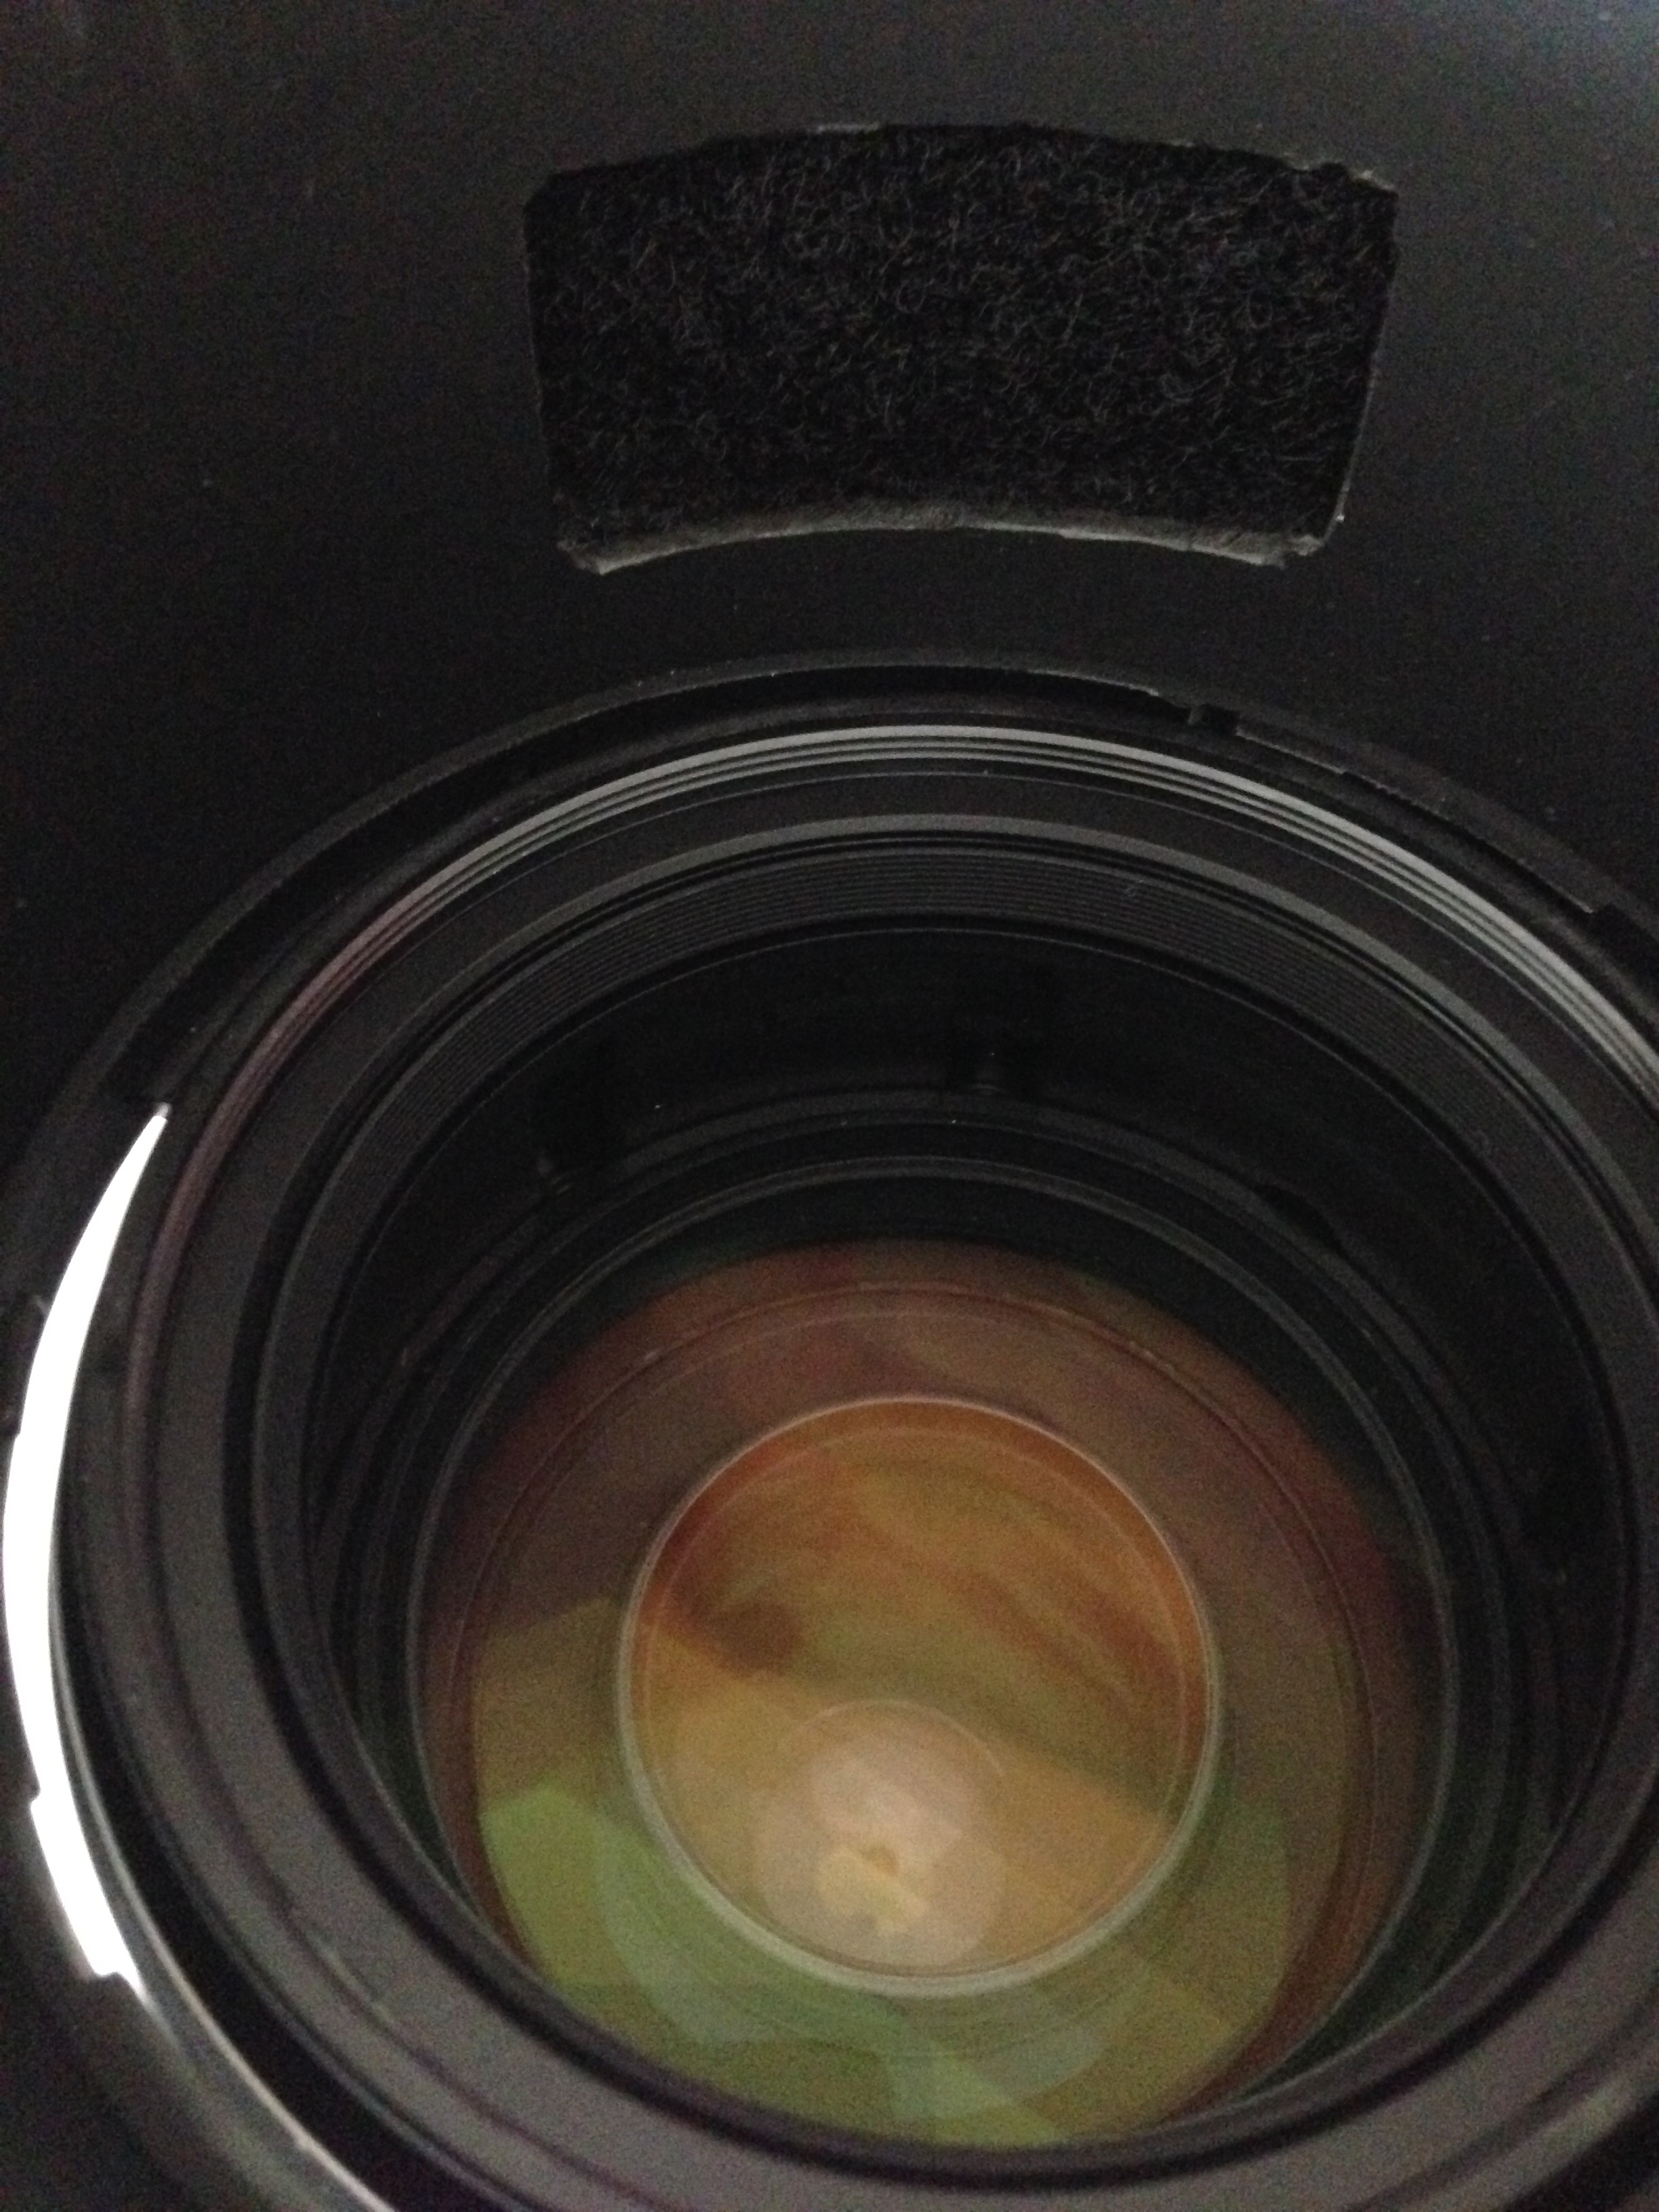
On our last Photo Workshop to the Southwest a student asked why he never saw me turn my polarizer on the lens. I told him I was turning the outer ring with my index finger through a hole that I cut in the lens hood. This hole allows me to use the lens hood to prevent the sun from hitting the front element of the lens and still have access to the polarizer without removing the hood. I have only seen a few lens hoods from camera manufacturers that had this built in. My Nikon hood did not, so I modified it. It is a very simple process.
Tools needed:
Sharpie Pen
Dremel with circular blade to cut plastic
Small fine edge file
velcro 3/4" self adhesive strips, two fuzzy, one loop
Steps for modifying the Lens Hood:
Put the polarizer and hood on lens and hold as you normally would. See where your support hand's index and middle finger naturally fall while holding the lens. Mark this spot with a Sharpie pen.
Mark a rectangle on the spot that is just under 3/4 inches by 1 inch and a half. This should give you enough room to reach in with your finger to turn the polarizer.
Remove the hood and cut just inside the sharpie lines using the Dremel tool. You do not want to go wider than 3/4 inches because that is the width of the velcro strips.
Once you have cut the rectangle you may need to file the edges smooth.
Now cut small strips of loop velcro about 1/2 an inch long and apply them to the ends of the hole.
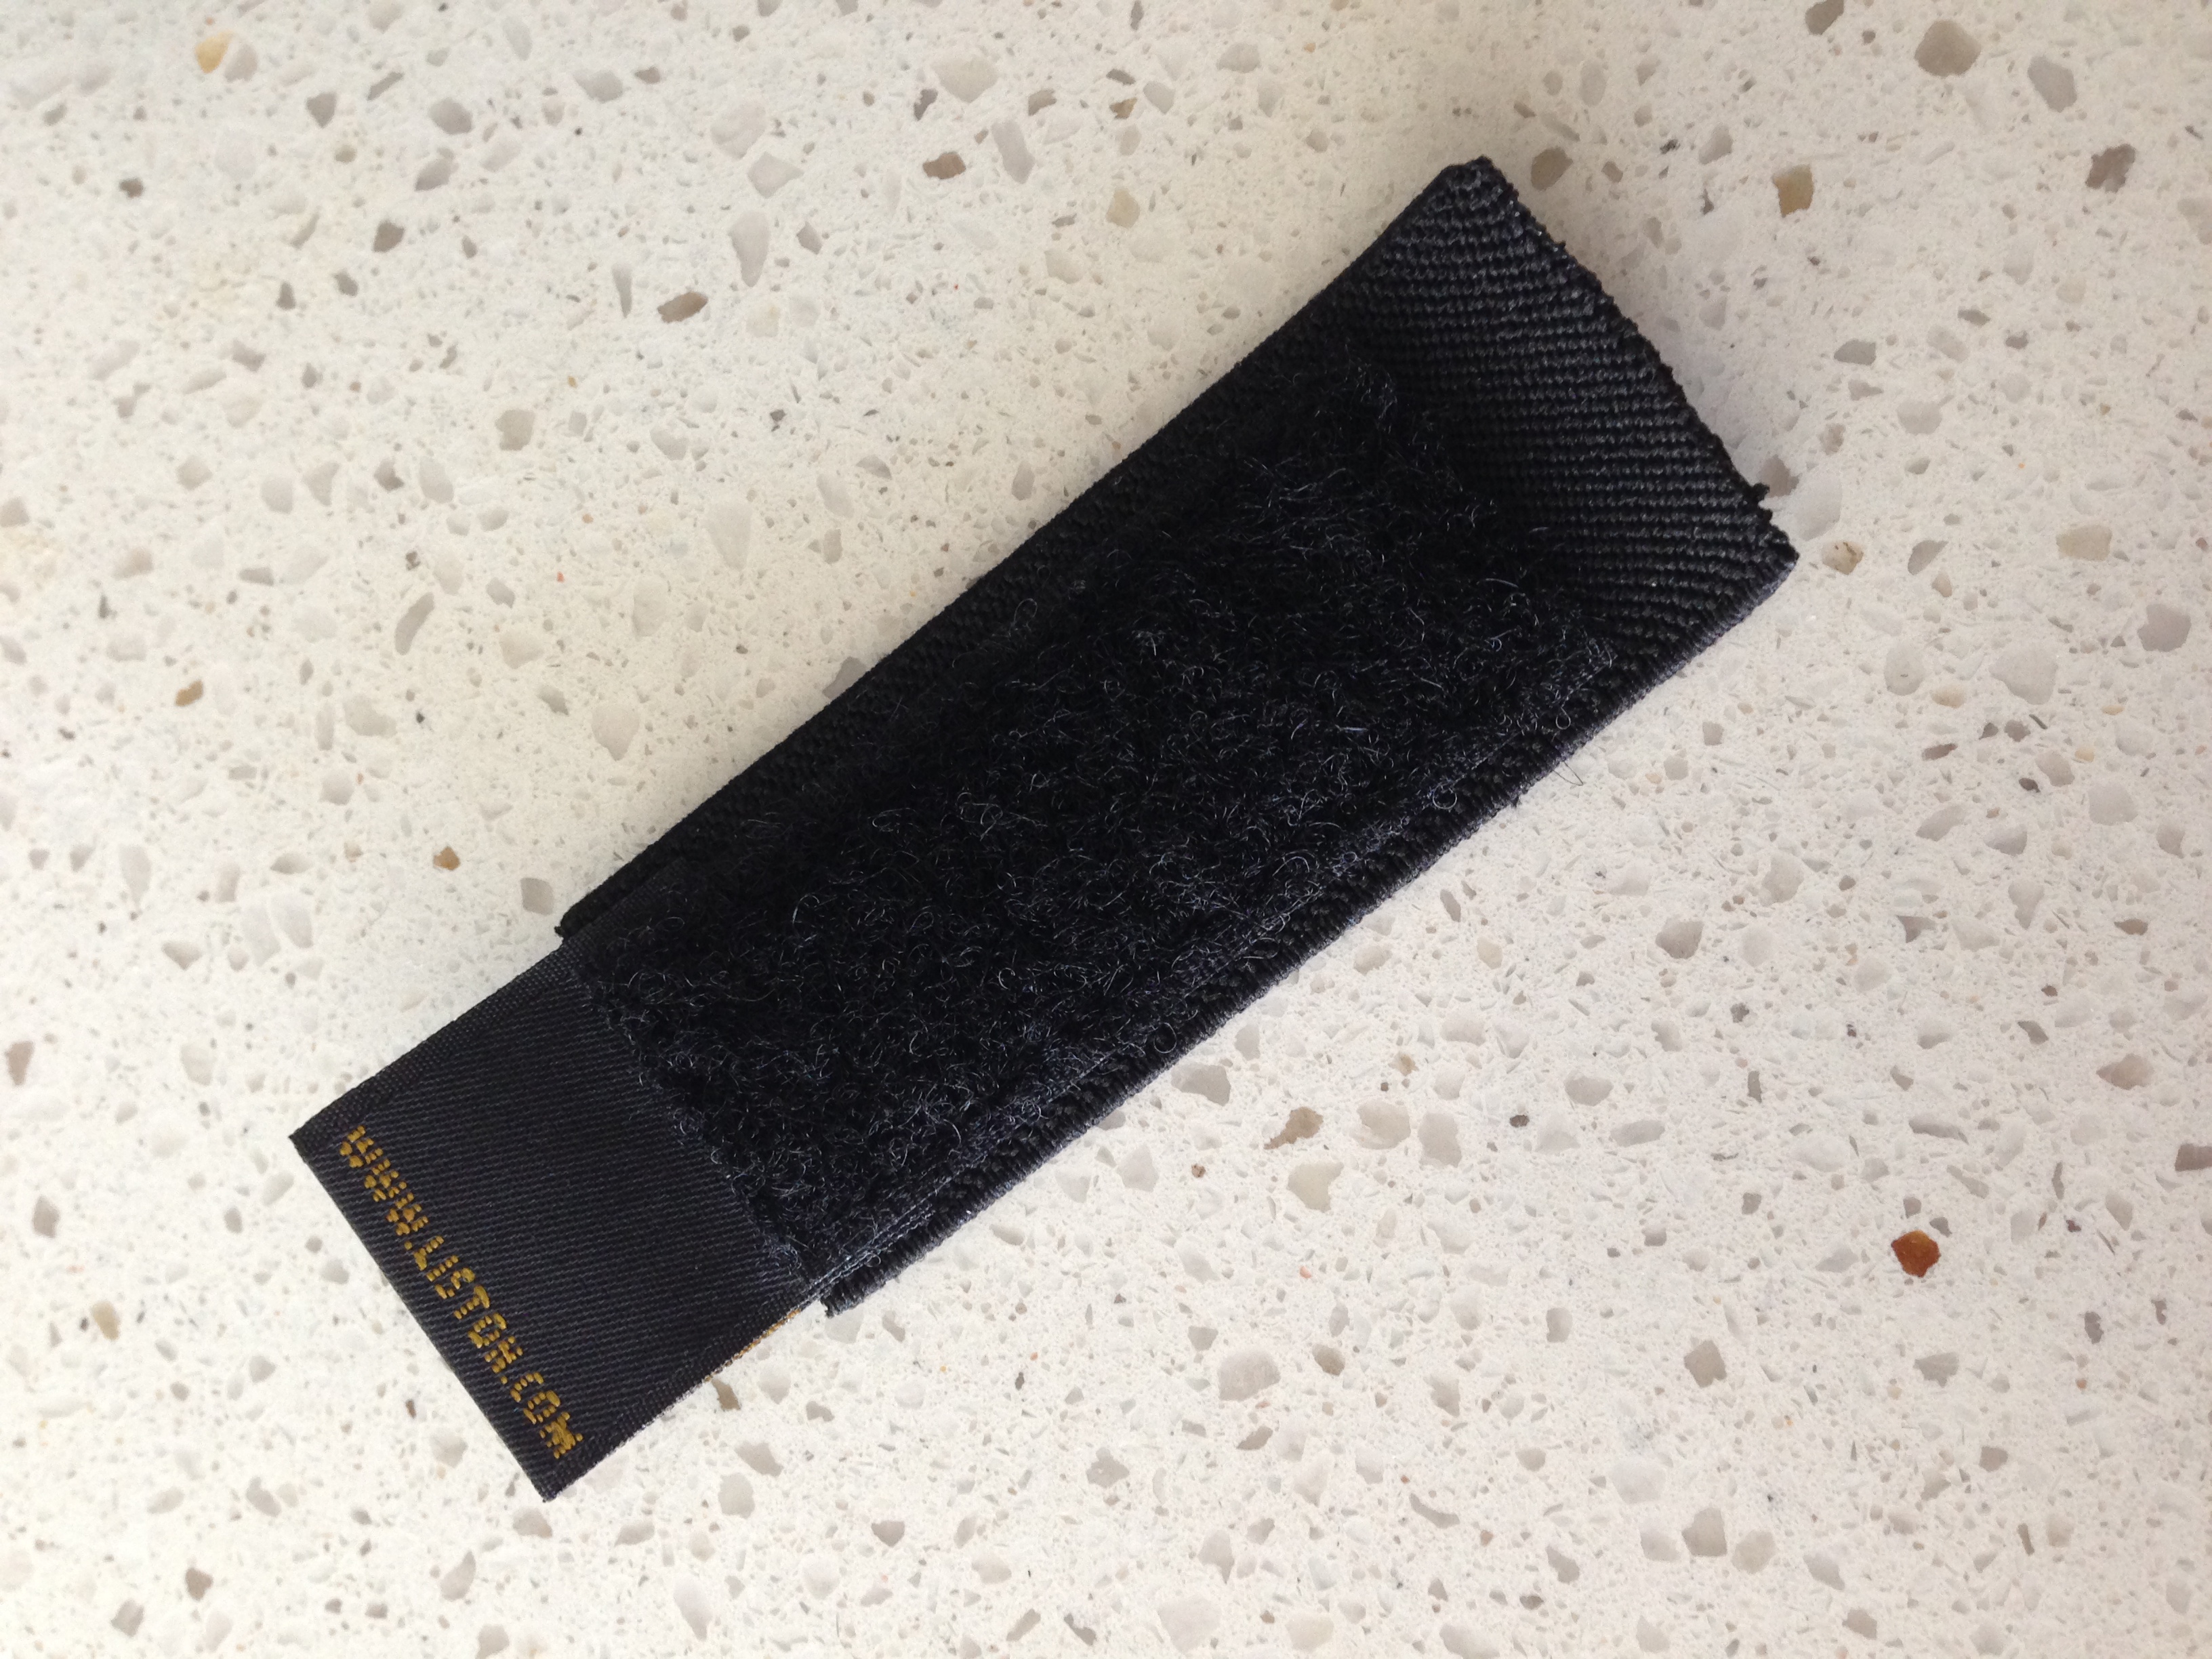
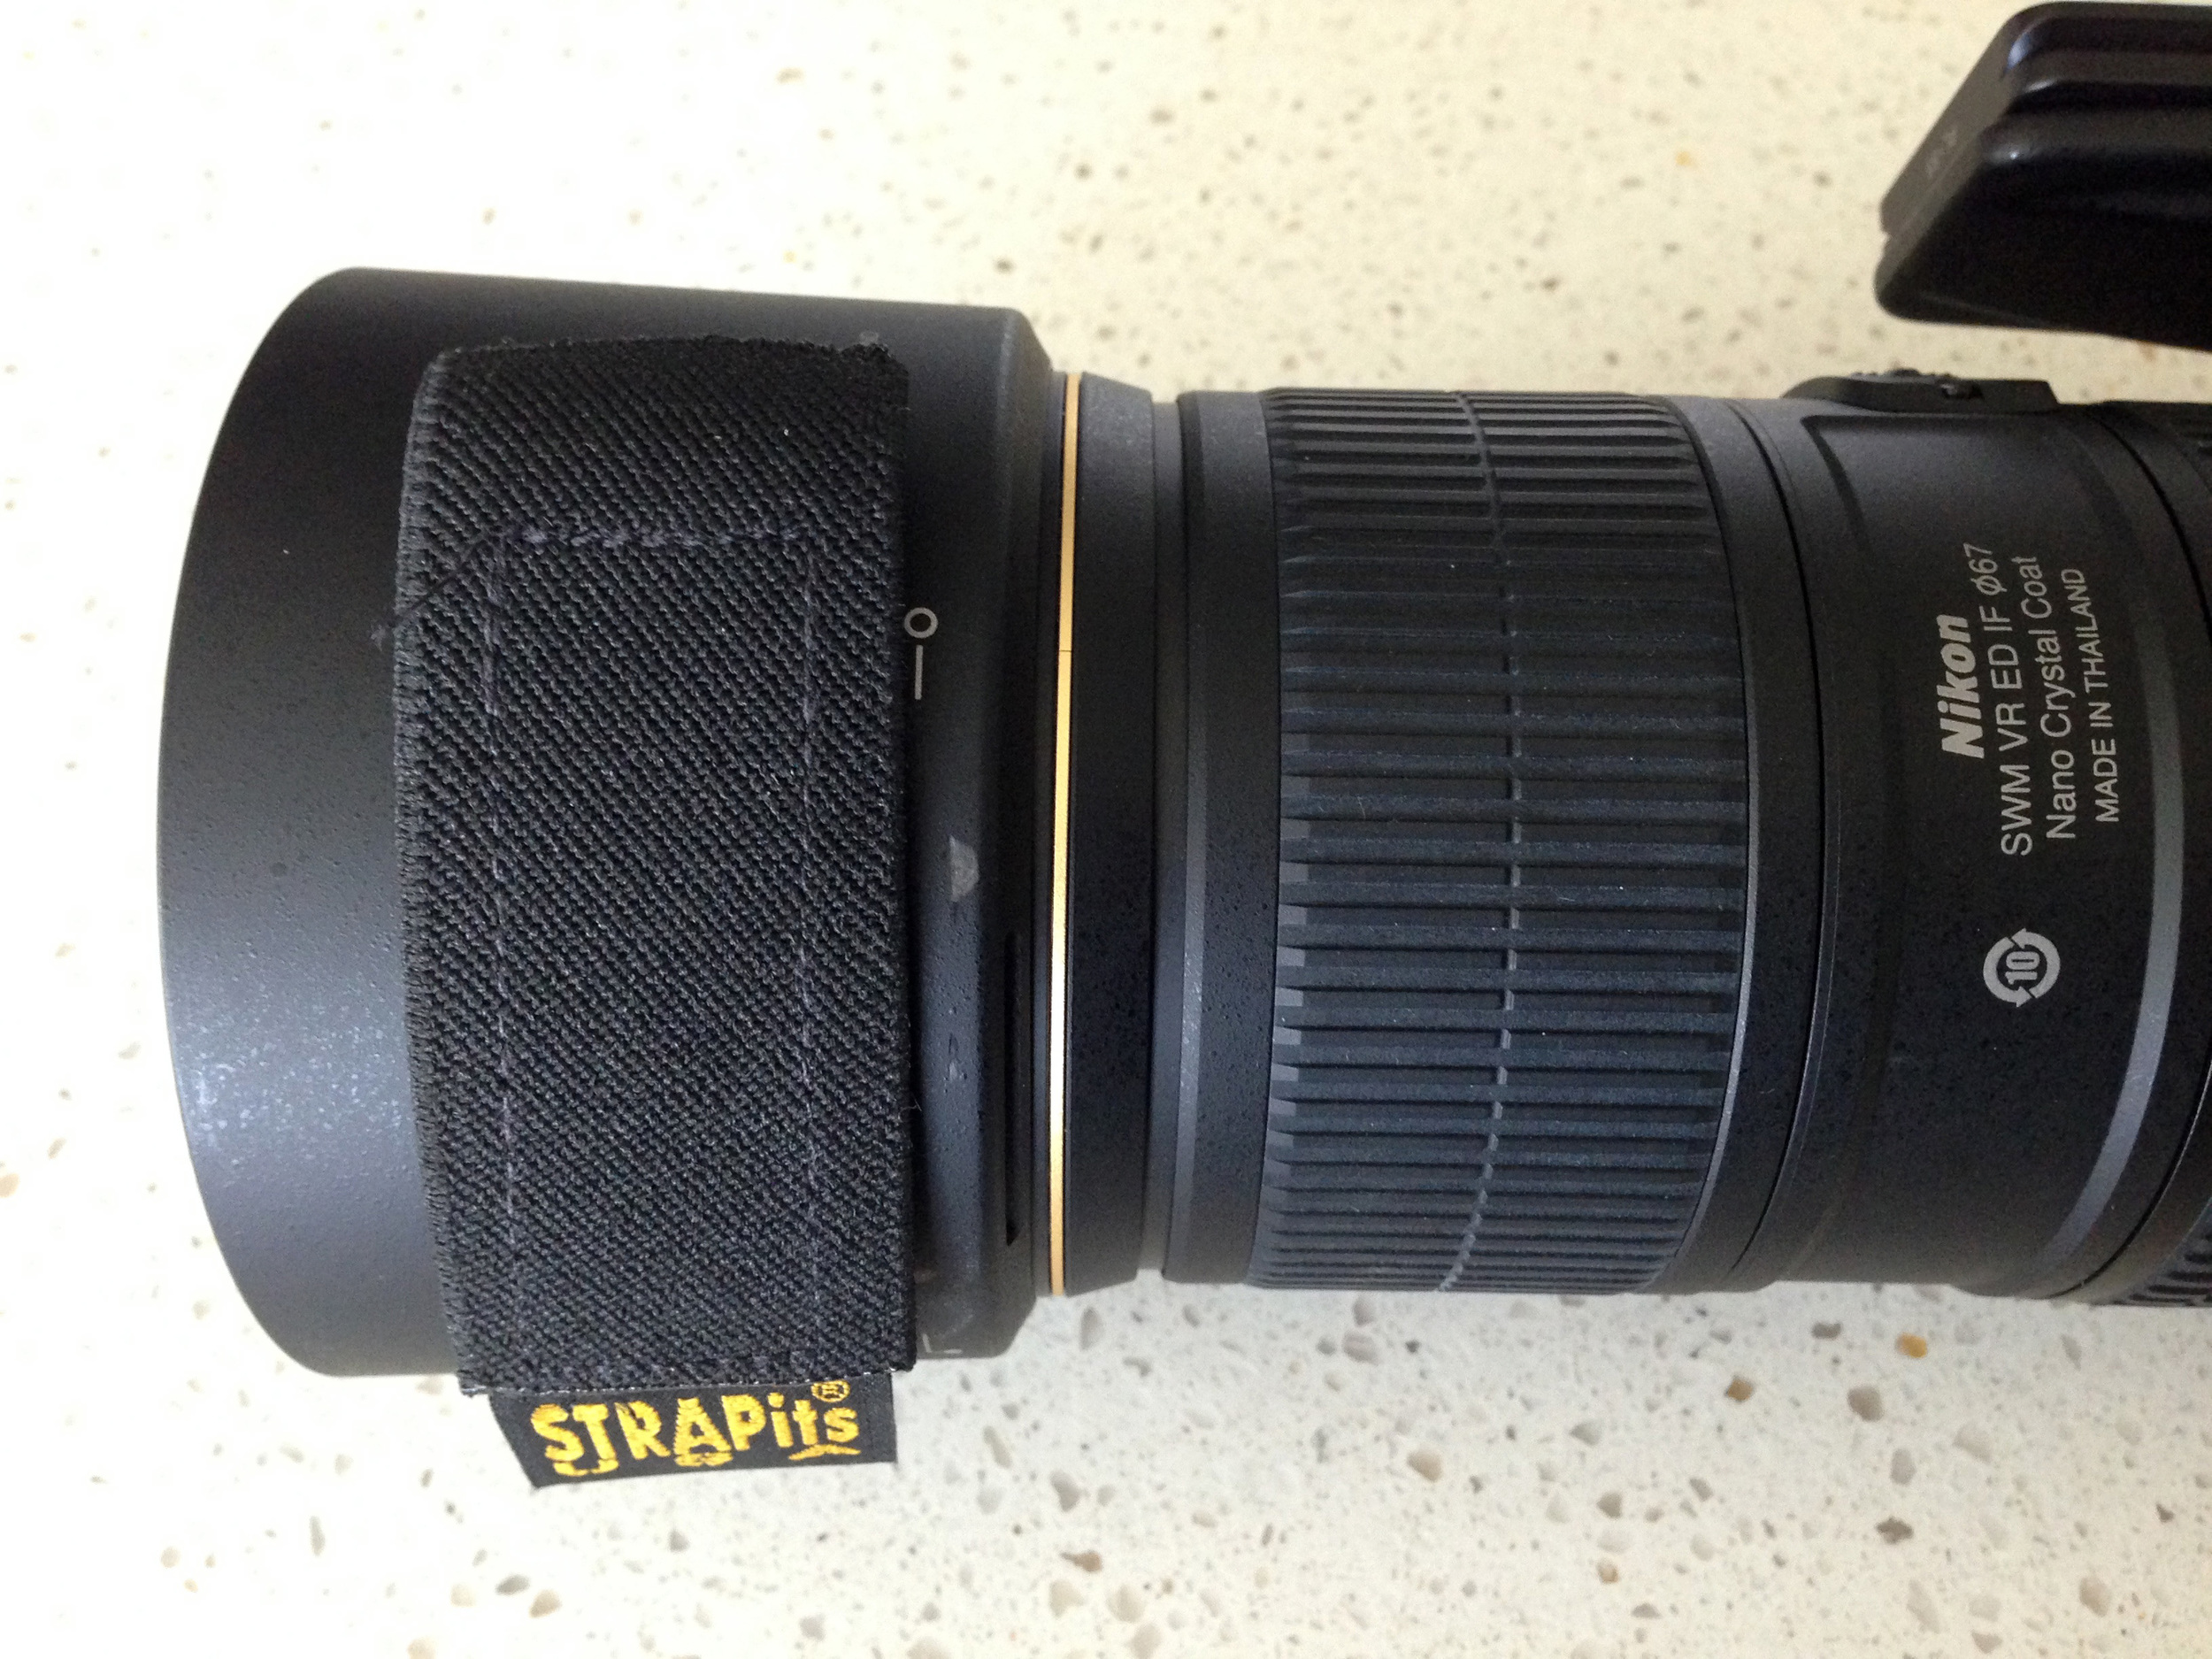
Now cut two strips of the fuzzy velcro that cover the velcro loop strips and the hole completely. Take the two strips and put them together back to back, sticky to sticky. This will make a strip that is fuzzy on both sides. This is the cover for the hole so you can use your hood normally.
Now you have access to the Polarizer by just peeling back the fuzzy velcro tab and putting your finger through. In the photos below I used a pirated fuzzy strip from an extension cord velcro keeper. But I also have the fuzzy sided velcro tab as well. The reason you have the fuzzy side facing out, is so it does not snag on the fuzzy interior of your camera bag.
I hope this project helps make your photography with a lens hood and polarizer a little easier.
Macro Workshop in Central Park
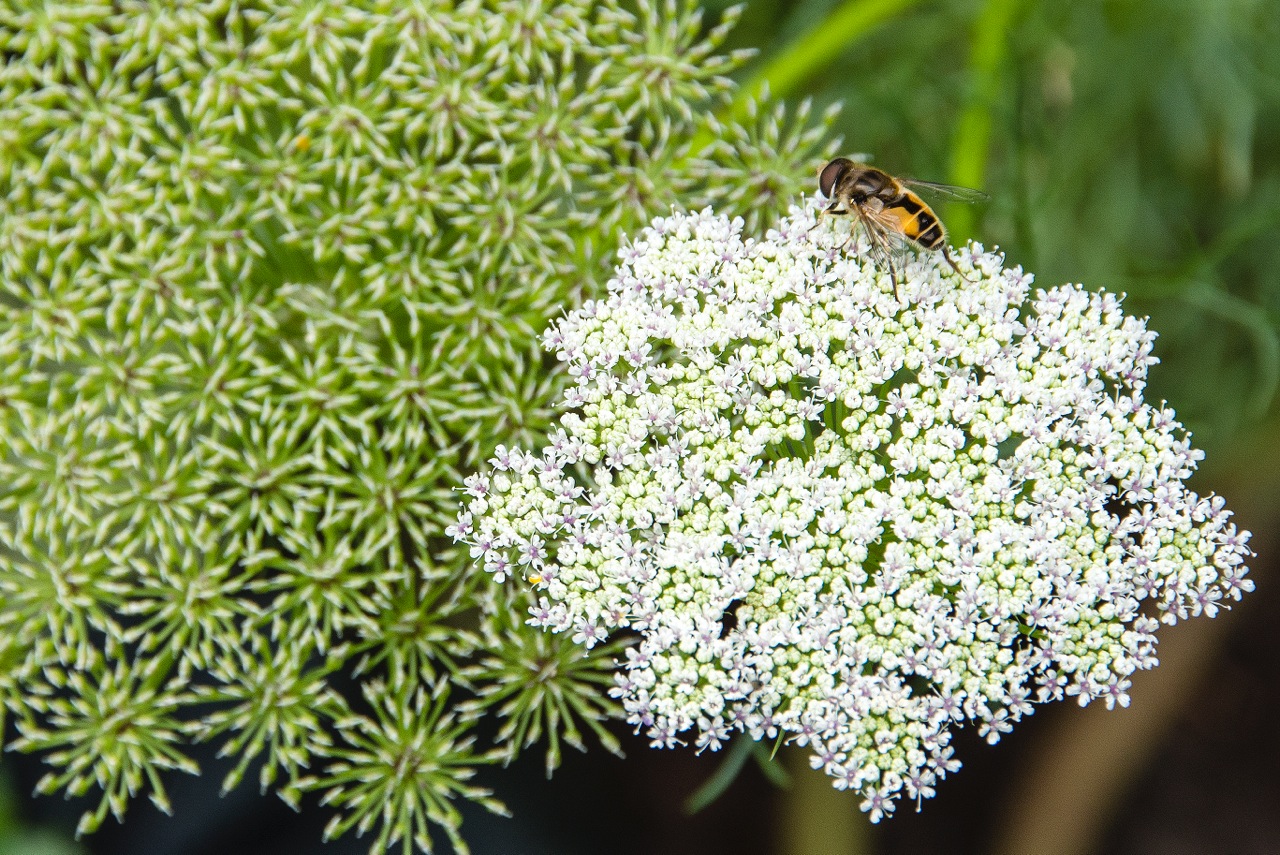
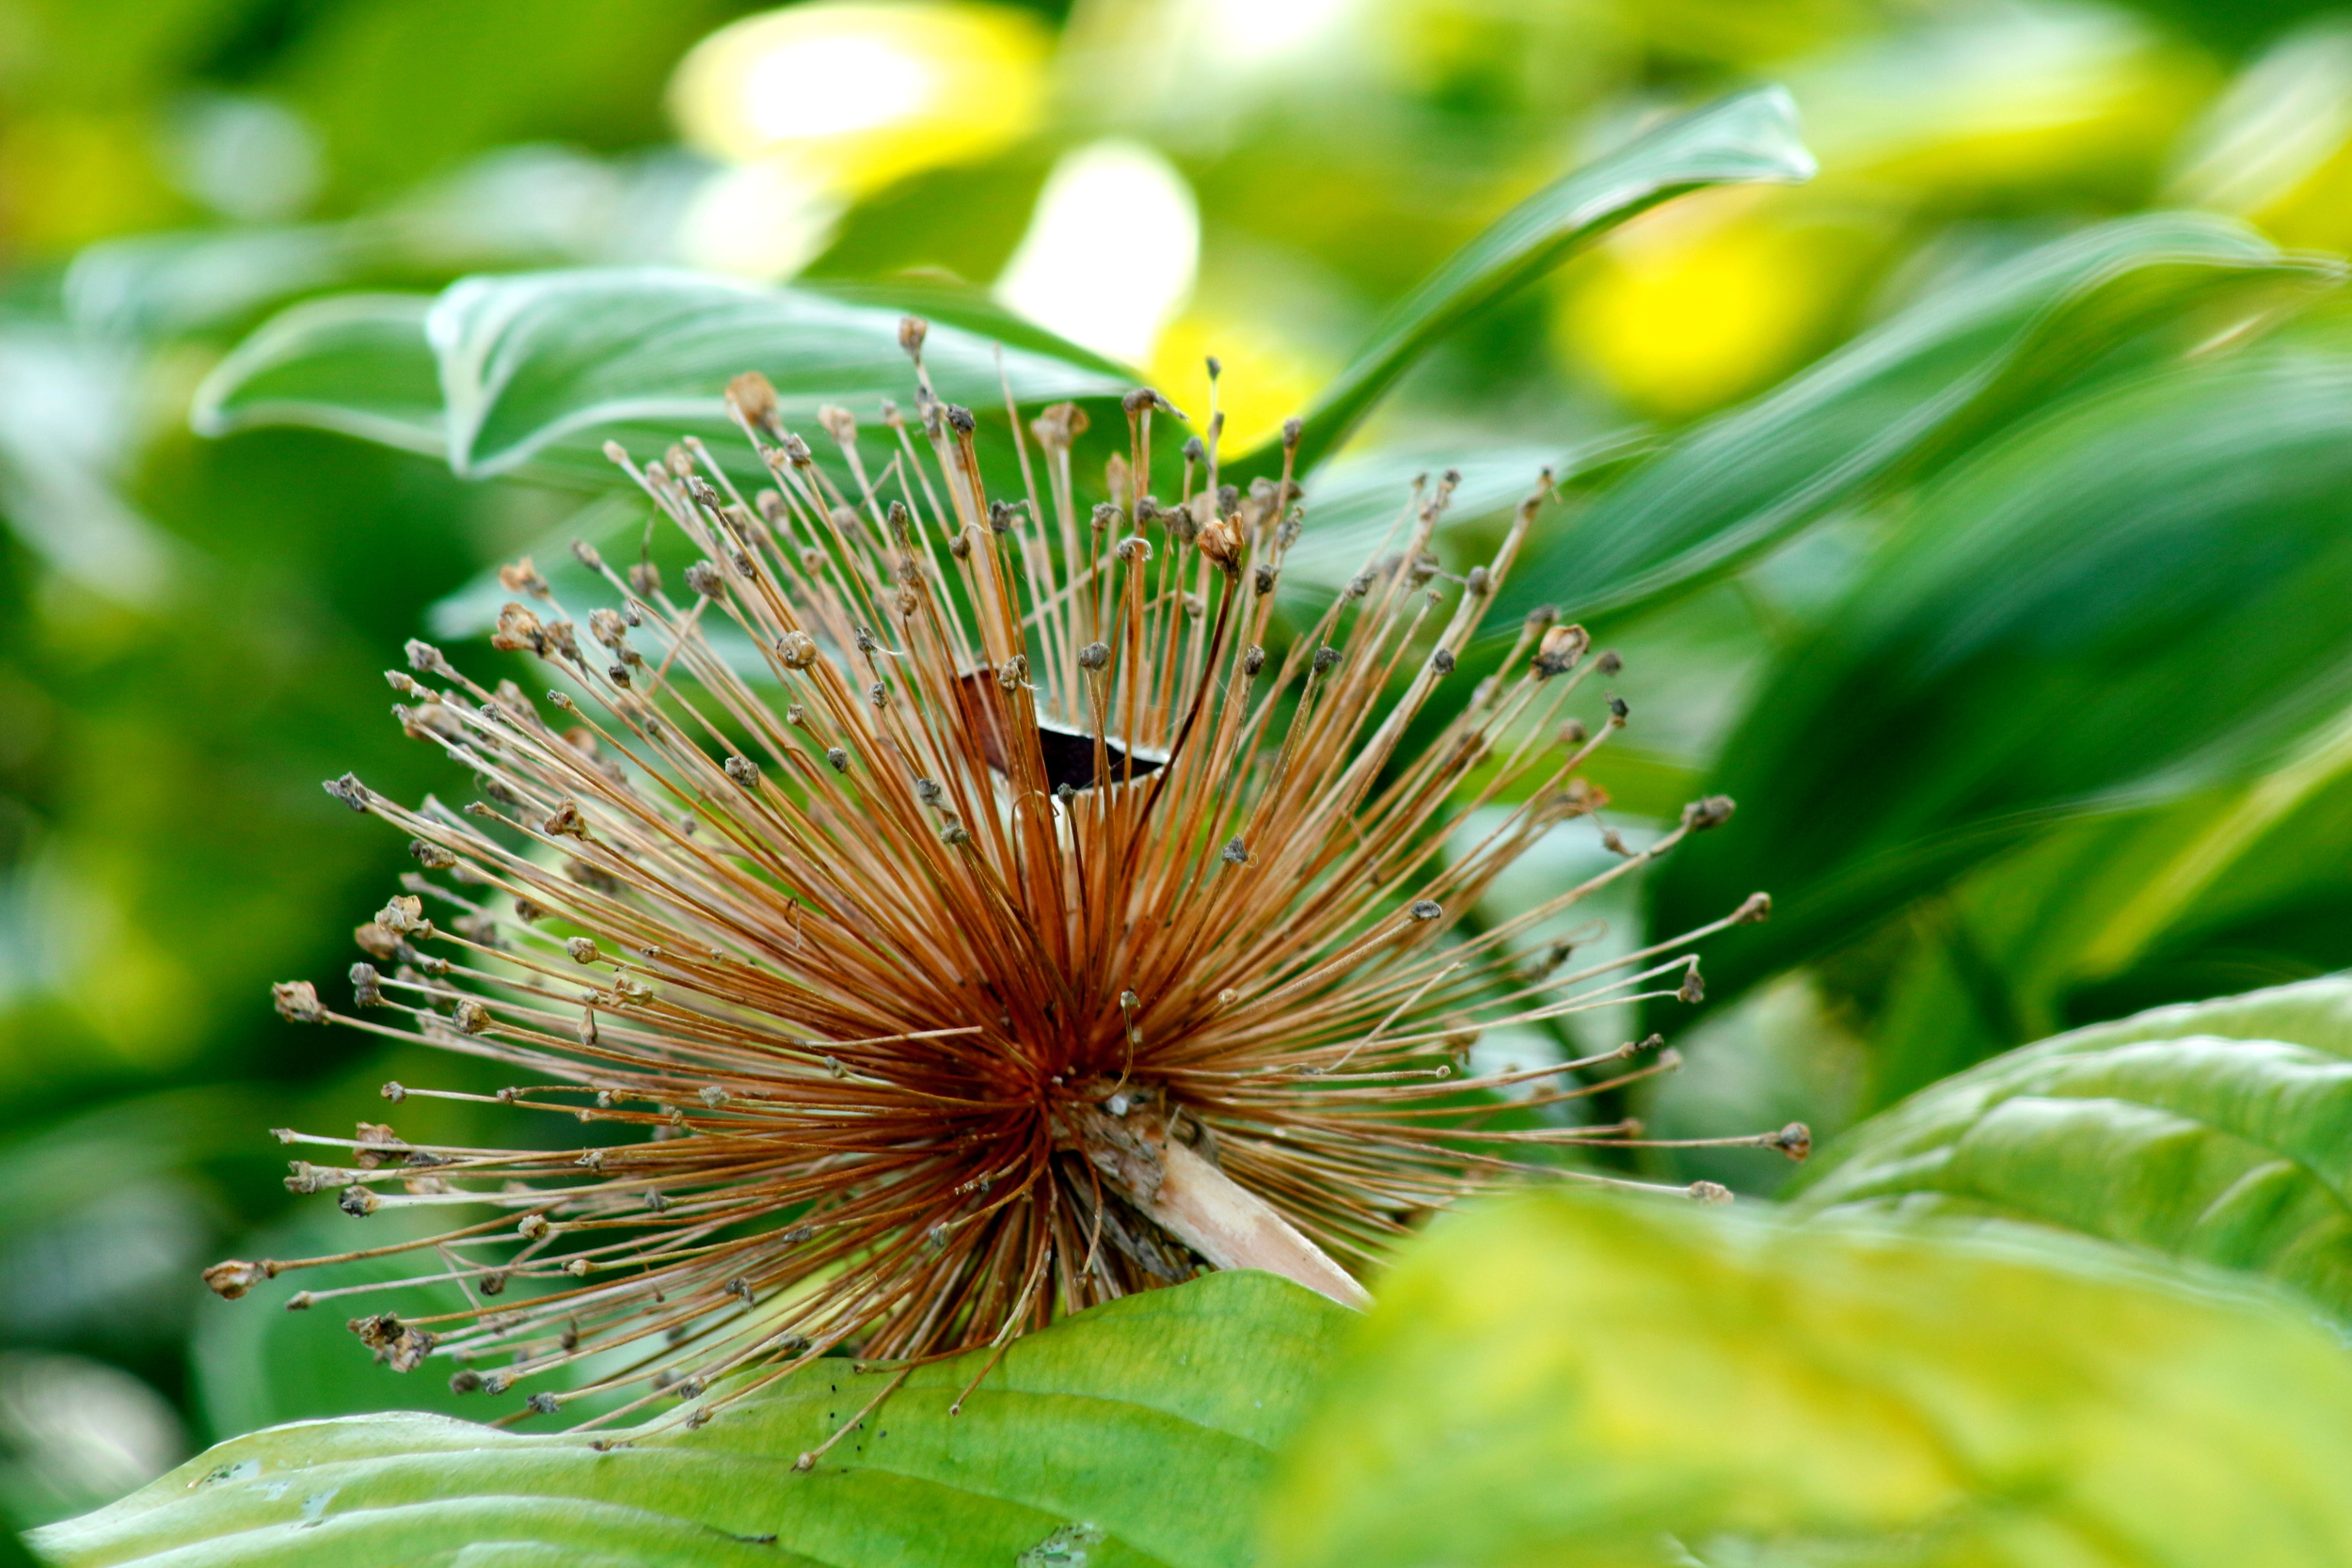
With some enthusiastic and talented students we headed into the park and photographed a whole new world. Here are some of the shots from my students. Simply beautiful.
Thumbtack
I have been using thumbtack.com to help students of photography learn their craft. This is a great service for connecting with people who want to learn more about photography. Please click on link below photo for more info.
Trout Parade Portraits 2014
Each year in June we offer portraits for a donation at the Trout Parade in Livingston Manor, New York. All proceeds collected go to help the Catskill Art Society. This year we had a great mix of families, friends and parade goers.
Shooting from the Rover
Every August I take students to Tanzania to photograph on a Wildlife Safari and even though I have been to Tanzania many, many times it still is one of the most captivating places to shoot on Earth.